Tuesday 29 March 2011

Character Design Job Applications


Hey guys what I'm gonna talk about today in this post is a little about the industry that I'm interested in going into after I leave college and that's Character Design. What I have here are a list of job applications that I found from the internet and they of course what they want out of their applicants. Underneath I will explain about how I compare myself to that and what people can expect from me. This is very important to put up because it reminds me what I want to achieve in my life and it's important to my tutor Jared mostly, so he knows what I really hope to accomplish.

So here we go this is the first application from ifreelance.com on 'Character Concepts'. This is the job description.

'Hi I need some one to create Character Concepts for my own personal Characters.  I Lack the artistic skill to give my characters that professional look.  What I need someone to do is to take my characters I have drawn and to edit them and give them that finished apperance to them and in some cases I have no concepts for them so I will describe the character and rely on someone to create the character based on my description.  There is 50 Character concepts I would like done in full color and I will like to work around 10 dollars per character so the total project cost would be 500.  The payment method will be simple, You send me a group of 5 concepts and i will fund you 10 dollars for each concept so I will send you 50 dollars in total.  I plan on staring this project the first of january but I may start sooner.'

What this guy is talking about is that he needs someone who can draw what he has in mind. I am so down for that. Mostly I do draw characters of my own but I'm so interested in drawing other people's ideas. I am of course capable of listening which is what he talks about here however he doesn't mention what tools will be required (i.e photoshop, illustrator, flash etc.), I guess he just wants you to just do whatever you think is better in designing a character. I can of course use photoshop and flash but I lack knowing everything about it. I only know some of the easier stuff, whereas you need to raise you game particularly if you're going to be working with other people. So that's really what I've got to learn and that is to learn the entire process of photoshop, illustrator and flash, if of course that's what this guy wants from you.

Okay here's the next one from odesk.com.

Job Description


I have lost a file and need a character re-created. I have a picture of the file and just need it traced and rendered in Adobe Illustrator. Needs to be separated into layers for separate sections (ie, face, torso, arms, legs, feet). Basic enough for an experienced Illustrator user.

Deadline for this work would be 24 hours, please only apply if you are able to meet this target.

I will send the image before hiring to make sure you can replicate it.

Skills Required:


Again what this asks of you is to be an expert in illustrator which I know I can learn to be as I said up above and I would totally be cool with the deadline. Although before I have been not so good with keeping up with the deadline, but hey I know I can do better and I would never leave something like this to last minute.

Finally there's this description from odesk.com.

Job Description


Must be able to replicate characters style and look and create a Model sheet to include:

Front view
Side View
3/4 View
3/4 under
3/4 top

Must be able to start now.
If the character is vastly different to what we asked for the conractor will not be awarded payments.

Serious project, needs a good eye for replicating a characters facial structure into different poses/views.

Skills Required:


Now this I can do with no problem.

I now that there is one thing I forgot to mention and that's what kind of company I would like to work that specialise in character designing, but not just character designing but also creature designing and company that has worked on so many huge movies such as "Clash of the Titans", "Percy Jackson and the Lightning Thief", "The Vampire's Assistant", "The Incredible Hulk", "The Chronicles of Narnia: Prince Caspian", "30 Days of Night" and only just recently they have worked on Zack Snyder's latest movie "Sucker Punch". They of course are the kind of studio that I would love to go and work for and if take those skills from those descriptions up above on board then it looks like I'm all set. 

So there you go hope you think I may have what it takes and until my next blog, take care. 


Monday 21 March 2011

Industry Exercises 2


Hey guys, it's been a while since I've updated you on how my works going at college but now I've taken time to finally get back to telling you guys but first I'll start with the back-drop of it all. At the beginning of the new year we had to finish off the character design in Maya and the Digital Environments stuff, but as we got those done we had another task to do for Industry Exercises. Jared Taylor our tutor wanted us to do our own tutorial about Maya, but the part of Maya that we think is the most interesting. For me since I'm a very creative person and I'm always interested in the creative process, I love building the actual character that you're going to animate later on.

What I'm going to give to you guys now is the step-by-step guide on building a character model in Maya, followed by some images;

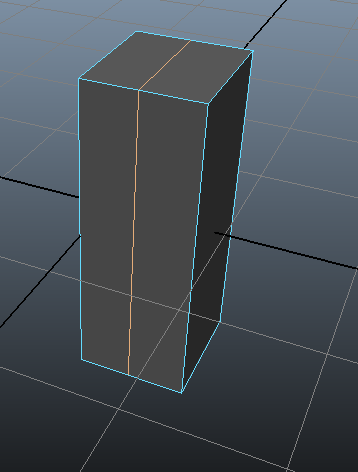
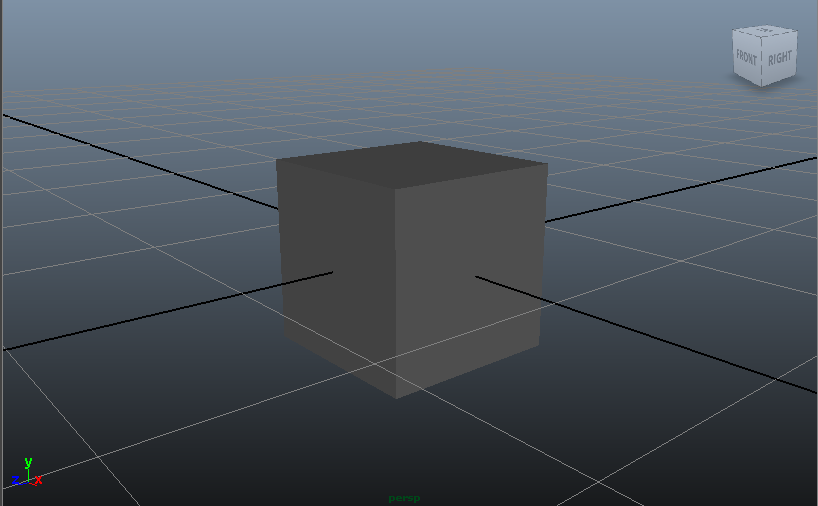
Step I: Create a polygon cube and give it a sub-division of two (to give it a subdivision of two, go to the channel box and click on where it says polygon 1 under the Inputs) then delete the inside faces.

Photobucket

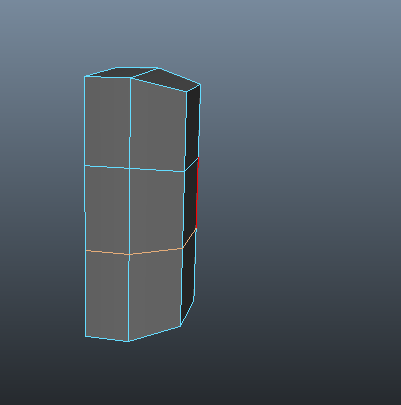
Step II: Scale the cube and by using the insert edge loop tool (which can be found under edit mesh in the polygon menu) add another edge loop.
Photobucket

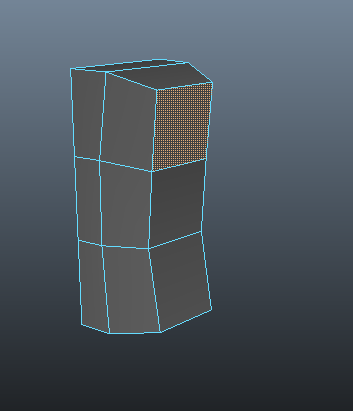
Step III: Horizontally add two more edge loops. With the new loops you'll have enough vertices to shape the torso. To view the object as a smooth object select it and press the '3' key.
Photobucket

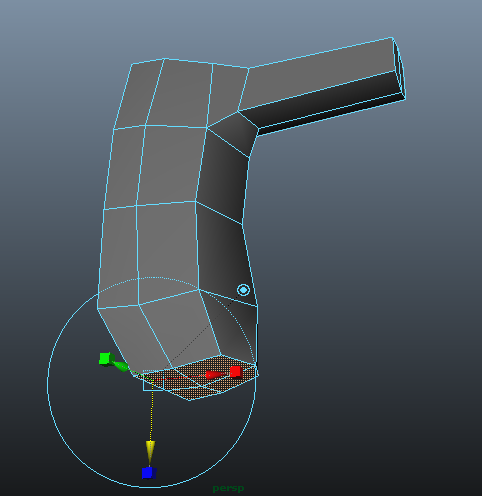
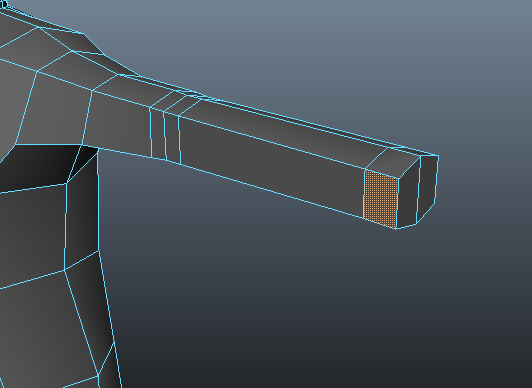
Step IV: To create the arm select the appropriate face. Extrude it once and scale it in a little bit and pull it out a little bit. Extrude again and pull the new extrusion to where the wrist will be. Create another edge loop with another edge loop tool right through to the centre of the arm and torso. With the new vertices shape the object some more.
Photobucket

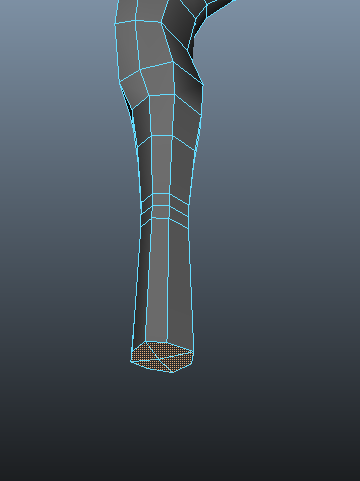
Step V: To create the leg select the bottom faces, scale the faces in then extrude the faces and pull them down to where the ankle will be. Remember to check it as a smooth object, press the '3' key. Also it's important to save every so often.
Photobucket

Step VI: To create ankles and elbows use the insert edge loop tool. It's always good to have about three edge loops where they will be a lot of bending and deforming around the joint.
Photobucket

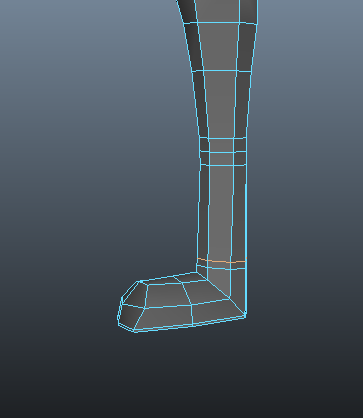
Step VII: To make the foot select the bottom faces of the leg and rotate them to an angle then extrude the faces and pull out the new extrusion to where the toe is. Then rotate the faces until looks just about correct. To make the foot have more of a defined hard edge select the base faces, extrude them and pull them out just a wee bit. Then add another edge loop through the middle of the foot and have some more vertices to create some shape.
Photobucket

Step VIII: Add another two edge loops around the ankle and add another edge loop around the thigh to create more shape.
Photobucket

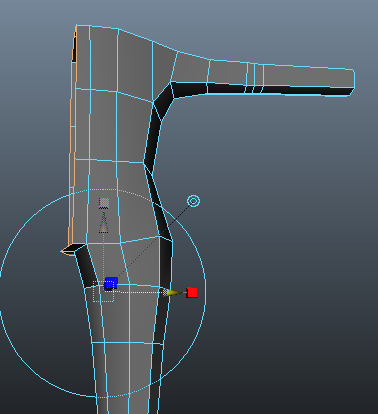
Step IX: Now select the edges at the centre of the object and extrude to where the spine might be.
Photobucket

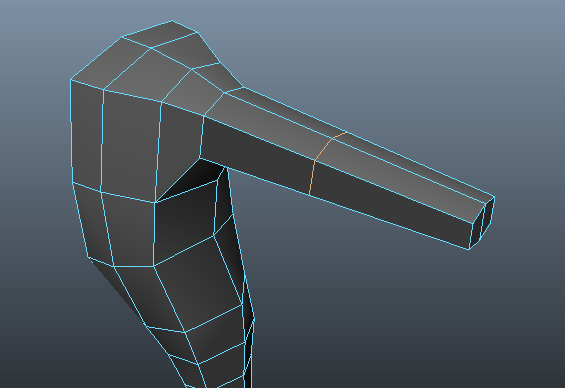
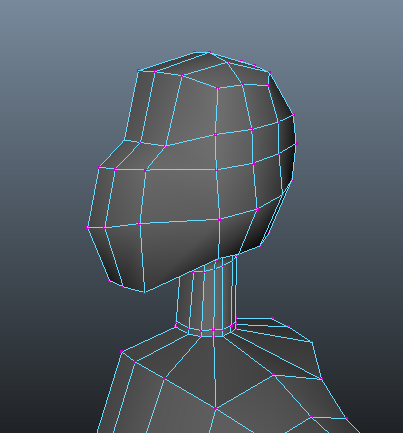
Step X: To create the neck you need to redraw some of the edges with split polygon tool which can be found on the edit mesh menu. Redraw until all the faces have four vertices. Then select the new faces and extrude up to where the base of the head might be. Remember to delete the inside faces. Also rotate the faces to an appropriate angle. Extrude then again to where the tip of the skull would be.
Photobucket

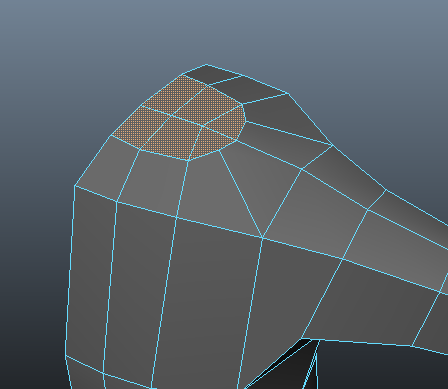
Step XI: Faces and hands can be very difficult to create so I’m just going to give you a simplified version. Add another edge loop between the base of the head and the skull with then the new vertices, pull them about until you get something that resembles the shape of the head. Remember to check to see how it will look like in smooth mode.
Photobucket

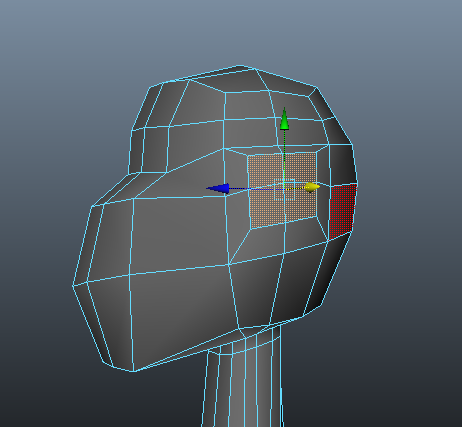
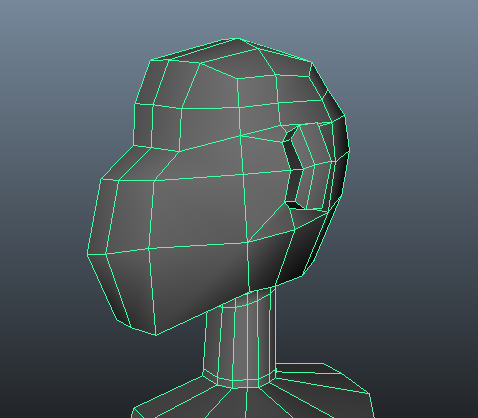
Step XII: For the ear, select the four faces and extrude and scale in then extrude out and then we just shape the vertices.
Photobucket

Photobucket

Step XIII: For the hand, select the faces of where the wrist is, pull them out to where the base of the thumb is. Select one face to extrude the thumb and pull it out towards the tip of the thumb. Now select the two hand faces (when you select two faces and extruding them together, make sure that the keep faces together option is ticked under the edit mesh menu). Add an edge loop in the middle of the hand and just have more vertices to create a shape.
Photobucket

If you want to create an advanced model you would also need to redraw the loops around the groin and hip area.

Step XV: To finish the model off, duplicate special under the edit menu and make sure you put a value of minus 1 into the first scale box (for the X axis). Then select the two sides, under the mesh menu go to combine. Finally- you want to select the vertices at the centre of the model and merge them (merge is under the edit mesh menu)- make sure you have a very low value.

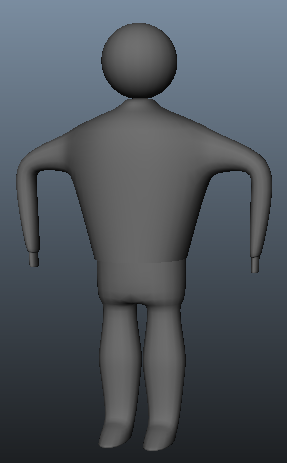
In the end you'll have a model which can look like anything you want like this one here that I've created here;


Photobucket

One more thing guys, all credit to helping me learn about Maya are the teachers of Ravensbourne but also an old teacher of mine who helped me put this step-by-step guide together. Her name is Nilly Brook, to learn more about her check her out at www.nillybrook.co.uk.